
Unless you are a professional welder with solid experience, or you have had some training, it is hard to know if your MIG welder is well set up for optimal performance. Without the correct settings, you may have a difficult time achieving the best results for different tasks you take up. Before setting up your MIG welder, you need to do some research and make a few preparations like finding out where you can get a MIG welder setting chart Trusted Source R-Tech MIG180 Mig Welder WELDING SETTINGS CARBON STEEL – 0.6MM WIRE DIAMETER www.r-techwelding.co.uk . You can get this information welding technician programs.
MIG welding settings are determined by the type and thickness of the metal to be welded, the gas, and the electrode or filler wire to be used in the process. You also need to have a properly set-up joint. This article provides all the hints and tips on how to set-up a MIG welder and the things you should consider for great results.
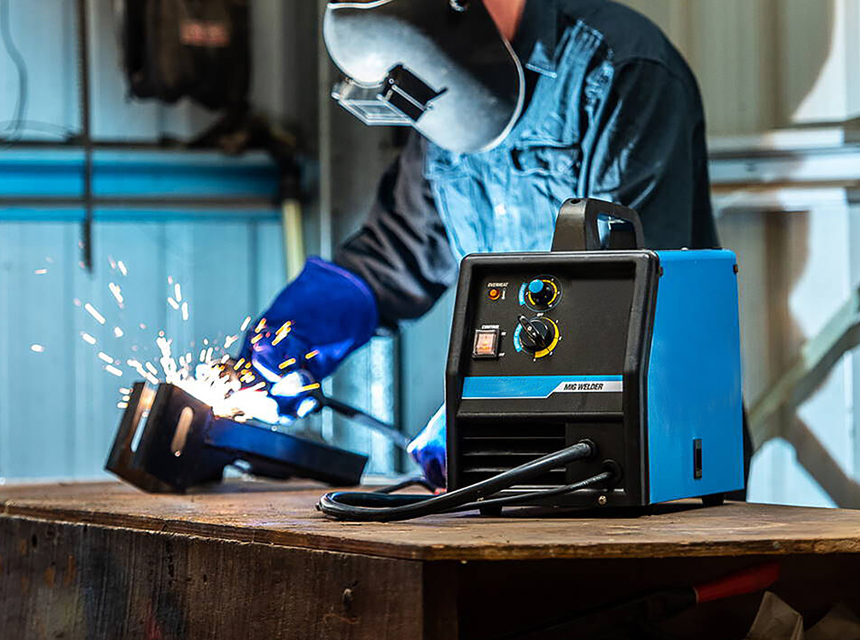
 Metal Inert Gas welding is one of the many types of welding techniques that uses electricity to melt and join metal pieces. It has steadily gained popularity since its invention because it is an easy and fast technique.
The technique involves the use of electricity in plenty to create an electrical arc between an electrode and the metal that’s being welded. The electrical arc melts the electrode wire, which is then deposited to create the weld. The weld pool cools when the heat is removed and it solidifies to form a new piece of fused metal and voila! You have your weld.
There are 3 main controls that set the welder: voltage, wire feed speed, and gas flow rate. They control the weld’s heat and the gas transfer type depending on the gas used. Some new welding machine models don’t have to control voltage or wire feed speed. All you have to do is dial the thickness you intend to weld then tweak it from there and the machine will be set to do everything except regulate gas flow.
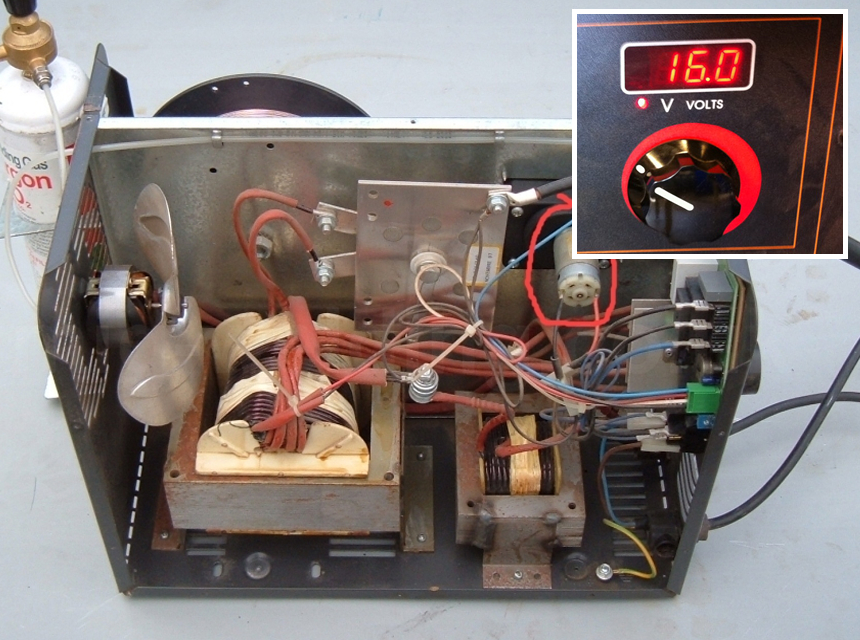
Voltage is the main heat setting that is set up based on the type of metal, its thickness, and the type of gas used and the position of the weld. It is the most popular option for changing the welder’s settings because it does most of the regulation. Most MIG welders are constant voltage power sources. This means the voltage doesn’t deviate much when set at a certain level. If you need to change the voltage settings then you have to unbolt the internal leads and flop them.
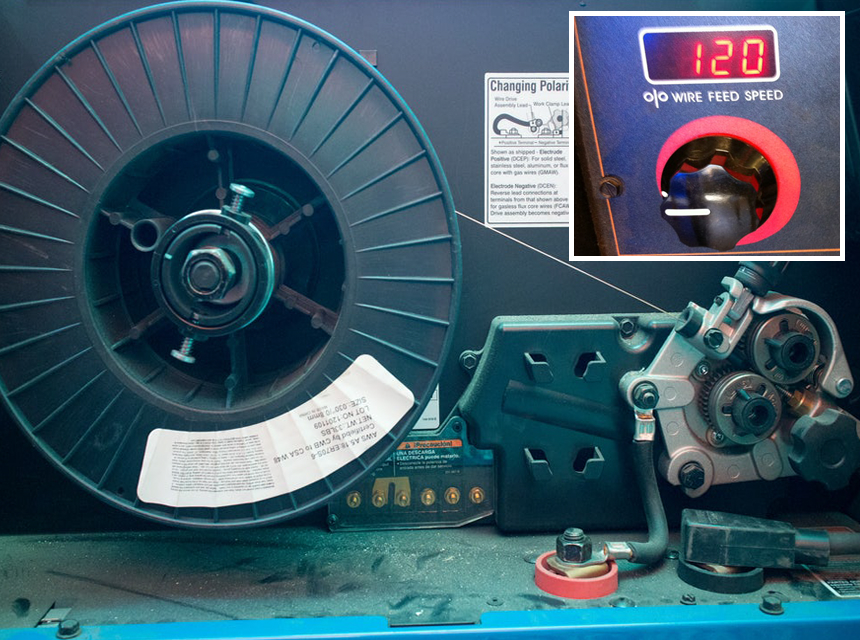
This is what regulates how fast the wire is fed into the weld joint. It is measured in Inches per Minute (IPM). It is also responsible for regulating the amperage. With Stick and TIG welding the primary setting is usually amperage and the voltage, the fluctuating setting depending on the arc length. MIG welding is the opposite, the voltage setting stays the same while the amperage fluctuates depending on the wire feed speed and electrode stick-out. In sum, the faster the wire is fed into the joint, the better the contact, and the more the amperage that gets through the wire. The result is higher heat.
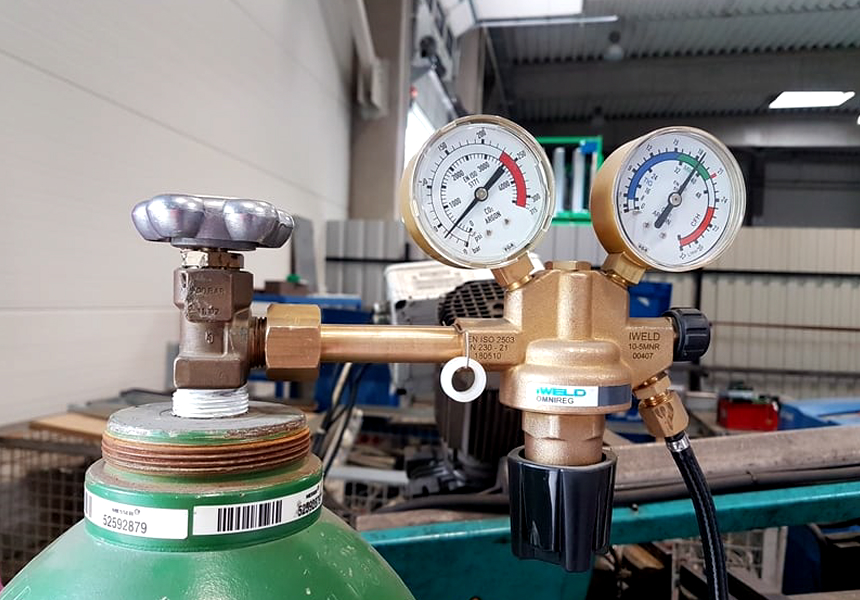
The type of gas and its flow rate influence its transfer type. For instance, a high percentage of Argon or Helium added to a mix will create a very hot arc. You should get the gas setting right so that you have enough gas to shield the weld from air.
Gas flow rates are measured in Cubic feet per Minute (CFM). Setting gas flow rate is a trial and error matter. 15 CFM may be sufficient in a shop setting but a drafty area may need a rate as high as 50 CFM. Be careful not to have a very high gas flow rate as it can cause turbulence and sucking air to contaminate the weld.
When all these 3 settings are combined, you get the ultimate transfer type with adequate heat that can penetrate a joint without creating a hole in it.
Before you set-up your MIG welder there are a few crucial things you must consider and they include:
The type of metal you will be welding has a huge impact on the machine’s settings as well as the gases and electrodes that you will use. Different types of metals have different melting temperatures. They also hold the heat differently. Therefore, you ought to know the type of metal you will be welding. The most common metals include; Carbon Steel, Aluminum, and stainless steel.
Unlike stick and TIG welding where you can use almost the same setting for various metal thicknesses, heat settings vary widely depending on metal thickness with MIG welding. With stick or TIG welding you can weld a 1-inch thick plate with the same settings you’d use to weld a ¼-inch thick plate.
The only issue with the variable heat settings from a weld-quality standpoint is the possibility of using low heat that results in welding joints hat don’t penetrate at all. For this reason, MIG welding is banned in popular industries like the Nuclear Power Plant Industry.
This is another major consideration when setting up your MIG welder. You must choose the right shielding gas and electrode or filler wire. Your choice is affected by the type of metal you intend to weld and its thickness.
The most common shielding gases used for the top 3 most common metals include:
Stainless steel- ER308L with 98% Argon and 2% Carbon dioxide
Carbon steel- ER70s electrode with 75% Argon and 25% Carbon dioxide
Aluminum- ER4043 with 100% Argon gas
As for the filler wire size, your choice is influenced by the amperage setting which is determined by the material thickness.
The most common wire sizes in MIG welding are:
0.023 – 30-130 amps
0.030 – 40-145 amps
0.035 – 50-180 amps
0.045 – 75-250 amps
The sizes overlap across each current range giving you the chance to choose what works for you as a welder and your technique.
Another thing most welders don’t consider is the quality of equipment they choose. With the best quality MIG welder you will have an easier time and end up with the best results. Let’s say you want to weld Aluminum, installing a spool gun would be a great idea if you want trouble-free wire feeding. You also have to check that your shielding gas bottle is full, and the hookups are clean and tight.
Pick a welder with multiple welding capabilities and advanced features like Auto-set technology that sets the welding parameters automatically based on material thickness and wire diameter.
The Weldpro 200 Amp LCD Inverter 5 in 1 Multi Process Welder is a prime example. It is packed with exciting features and an easy to use interface that make it incredibly versatile for precise welding results. The welder is capable of MIG, TIG, stick, and flux core welding. Its superior build and functionality allow you to focus on proper technique for the best results.
The Forney Easy Weld 261 is another fantastic option. It is a portable, easy to use and powerful welder with infinite voltage and wire fire speed control. It is the ultimate beginner welder with lots of amazing features that will allow you to dial in the perfect weld.
You may have the correct settings on your welder but without preparing your work piece you are likely to end up with poor results. The settings will only work right if you remove all the rust, paint, mill scale, oil and dirt from the work piece. What’s more, you will end up with a clean weld.
Working on a dirty joint may be easier for you but it has its consequences. You may end up with a lot of spit and spatter that increase your chance of getting burns or starting a fire.
When setting up your welder for aluminum, you should consider the popular ER4043 wire type that is normally used for all-purpose work. If your weld properties need more rigidity and strength, you can go with the ER5356. Just ensure that Argon is your shielding gas and you are using the shortest gun possible if you don’t have a spool. Try to keep the gun as straight as possible.
Here are the common settings for different Aluminum thicknesses:
1/2+ Inch: 1.6mm at 290-399 ipm with 300 amps
7/16 Inch: 1.6mm at 240-270 ipm with 280 amps.
3/8 Inch: 1.2mm at 450-480 ipm/1.6mm at 220-230 ipm.
5/16 Inch: 1.2mm at 400-425 ipm/1.6mm at 200-210 ipm.
1/4 Inch: 1.2mm at 350-375 ipm/1.6mm at 170-185 ipm.
3/6 Inch: 0.035 at 425-450 ipm/1.2mm at 300-325 ipm.
1/8 Inch: 0.035 at 350-400 ipm/1.2mm at 240-270 ipm.
For common steel, you can use 2 types of wires; ER7OS-3 for all-purpose welding and ER7OS-6 when more deoxidizers are needed or when your work piece is dirty or rusty. You must use these wires with a C-25 shielding gas which is a mixture of 75% Argon and 25% Carbon dioxide. The gas can only be used indoors where there is no wind. Here are the common settings for common steel;
1/2+ Inch: .045 at 390 ipm, 29-30 volts, and 315+ amps.
3/8 Inch: .035 at 420-520 ipm (short circuit transfer) or .045 at 220-375 ipm, 23-27 volts, and 220-300 amps
5/16 Inch: .035 at 400-520 ipm or .045 at 210-270 ipm, 21-26 volts, and 210-250 amps
1/4 Inch: .035 at 360-420 ipm or .045 at 185-220 ipm, 21-25 volts, and 180-210 amps
3/16 Inch: .035 at 320-380 ipm or .045 at 160-195 ipm, 18-25 volts, and 160-190 amps
1/8 Inch: .035 at 280-340 ipm or .045 at 140-175 ipm, 18-24 volts, and 140-170 amps
14 Gauge: .030 at 250-340 ipm, .035 at 240-260 ipm, or .045 at 120-130 ipm, 17-21 volts, and 120-130 amps
16 Gauge: .030 at 220-250 ipm, .035 at 180-220 ipm, or .045 at 90-110 ipm, 17-20 volts, and 90-110 amps
18 Gauge: .030 at 150-175 ipm, .035 at 140-160 ipm, or .045 at 70 ipm, 16-19 volts, and 70-80 amps
20 Gauge: .030 at 120-135 ipm or .035 at 105-115 ipm, 15-18 volts, and 50-60 amps
22 Gauge: .030 at 90-100 ipm, 15-17 volts, and 40-55 amps
MIG welding stainless steel is much easier than welding Aluminum. However, stainless steel has certain properties that distinguishes it from standard steel when welding. A mixture of Argon, Helium, and carbon dioxide or a spray shielding gas are your prime options for welding stainless steel.
Here are the common settings for different thicknesses:
1/2 Inch: 1.6mm at 200-230 ipm, 32 volts, and 300-325 amp
7/16 Inch: 1.6mm at 170-200 ipm, 27 volts, and 275-300 amps.
3/8 Inch: 1.6mm at 140-170 ipm, 25 volts, and 250-275 amps.
5/16 Inch: .035 at 450-475 ipm, 22 volts, and 180-190 amps.
1/4 Inch: .035 at 400-425 ipm, 21 volts, and 160-170 amps.
3/16 Inch: .035 at 350-375 ipm, 21 volts, and 140-150 amps.
12 Gauge: .035 at 300-325 ipm, 20-21 volts, and 120-130 amps.
14 Gauge: .035 at 230-275 ipm, 20-21 volts, and 90-110 amps.
16 Gauge: .035 at 180-205 ipm, 20 volts, and 70-80 amps.
When working on stainless steel that is 3/8 inches or more, be sure to change your shielding gas to 98% Argon and 2% Oxygen for the best results.
The correct MIG welding settings will allow you to get the most from your machine. Unless you are trained or have experience as a welder, you may have a few challenges getting your machine’s settings right. All the guidelines in this article should help you but before you touch anything, be sure to go through the manufacturer’s instructions on the user manual. Some manufacturers have the manual on their websites.
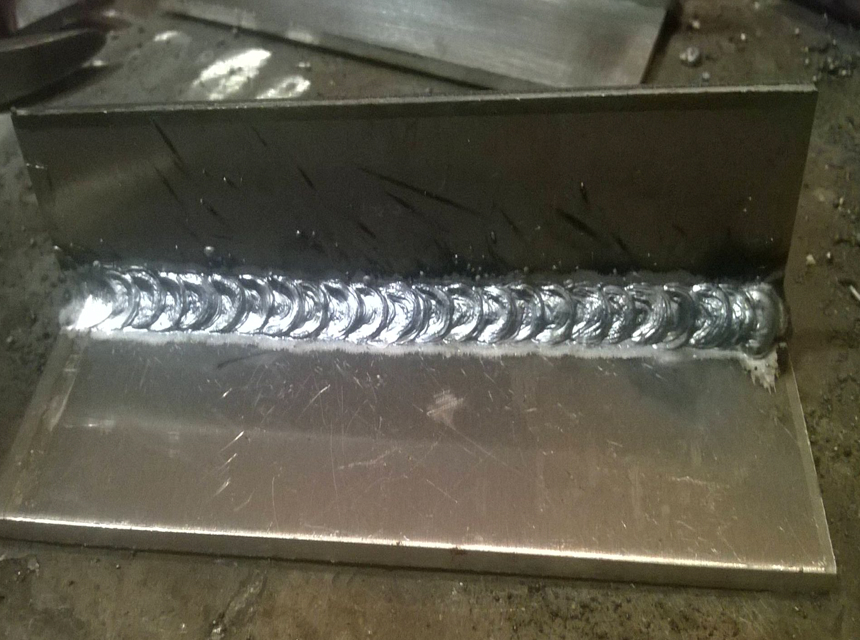
To check your MIG settings, you can inspect the weld bead and watch your puddles. If you pay close attention, it will tell you what you need to know. For instance, you would know you are out of shielding gas when you see porosity and pinholes in the bead. A normal bead would mean everything is okay.